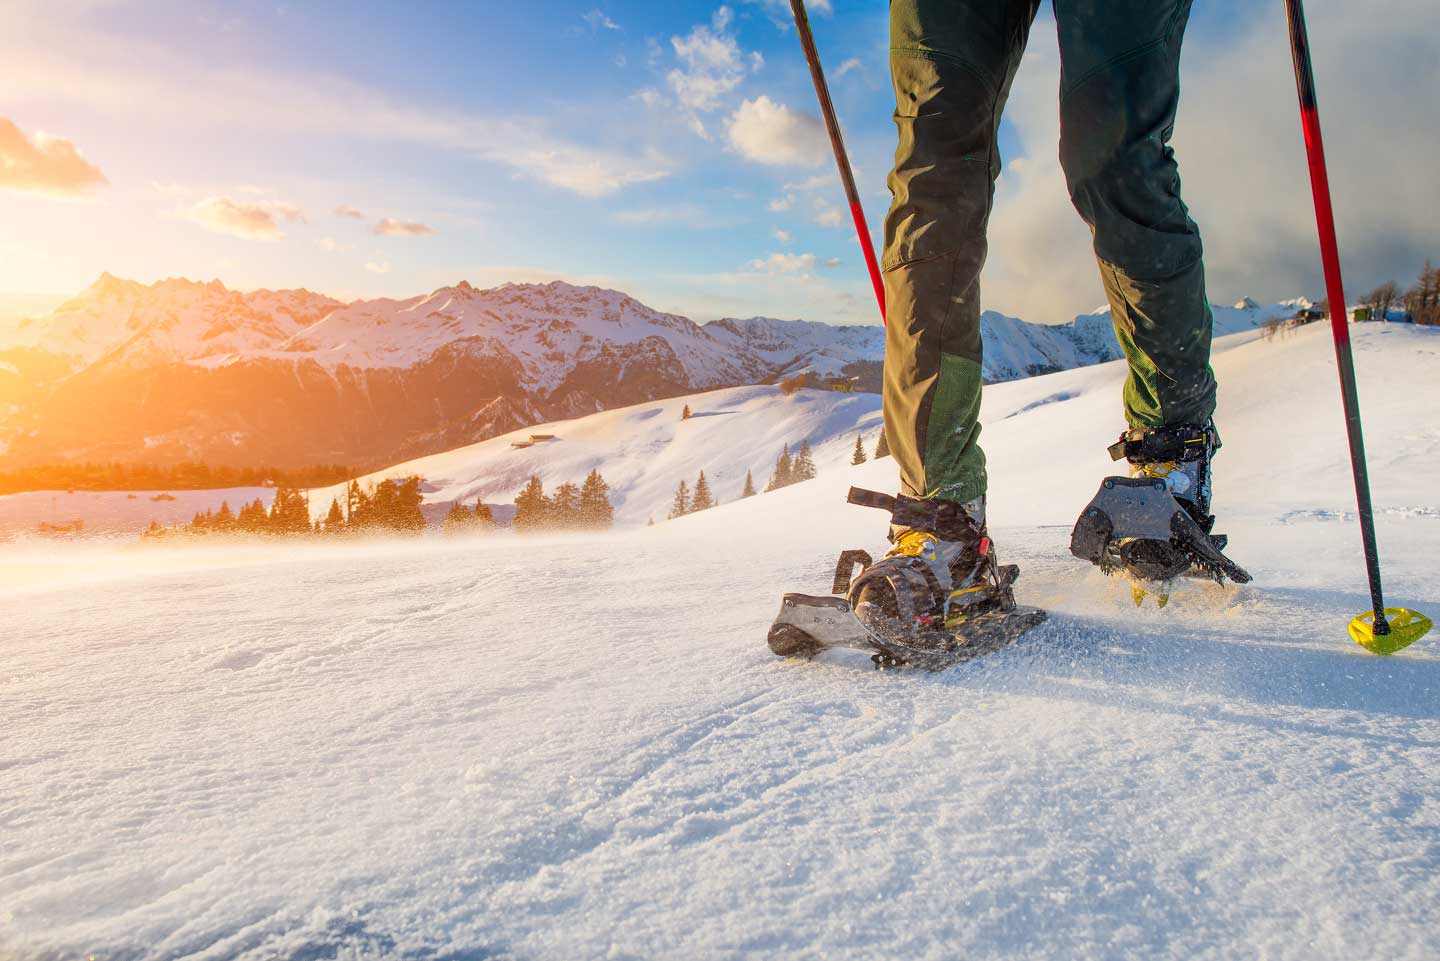
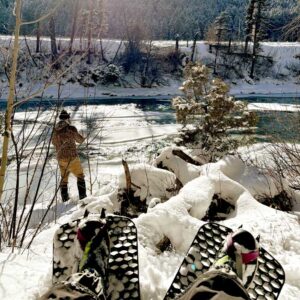
Snowshoeing doesn’t have to end when winter does. In fact, as snowshoeing increases in popularity, spring is quickly becoming one of the most popular times to head out on a casual (or not so casual) trek.

When the snow begins to soften and the crowds thin out, conditions are ideal for getting outside without the extremes of mid-winter. You’ll find more daylight, easier temperatures and trails that still offer solid snowpack in many regions.
In this comprehensive spring snowshoeing guide, we’ll walk you through everything you need to know to get started or even level up your outings. From choosing the right gear for different snow types to safely navigating trail conditions to staying safe in changing environments, we’ve got you covered. Whether you’re brand new to the sport or already comfortable with snowy hikes, this guide will show you how to snowshoe in spring with confidence, enjoyment and respect for the terrain.
With the right preparation, it’s the perfect time to enjoy a different side of the landscape. So, let’s strap in and get moving.
Navigate This Guide
Part 1: What Is Spring Snowshoeing?
Part 2: Spring Snowshoeing Safety
Part 3: How To Plan A Spring Snowshoeing Trip
Part 4: Spring-Specific Snowshoeing Techniques
Part 5: When To Stop Snowshoeing
Part 6: Spring Snowshoeing Gear Checklist
What is Spring Snowshoeing?
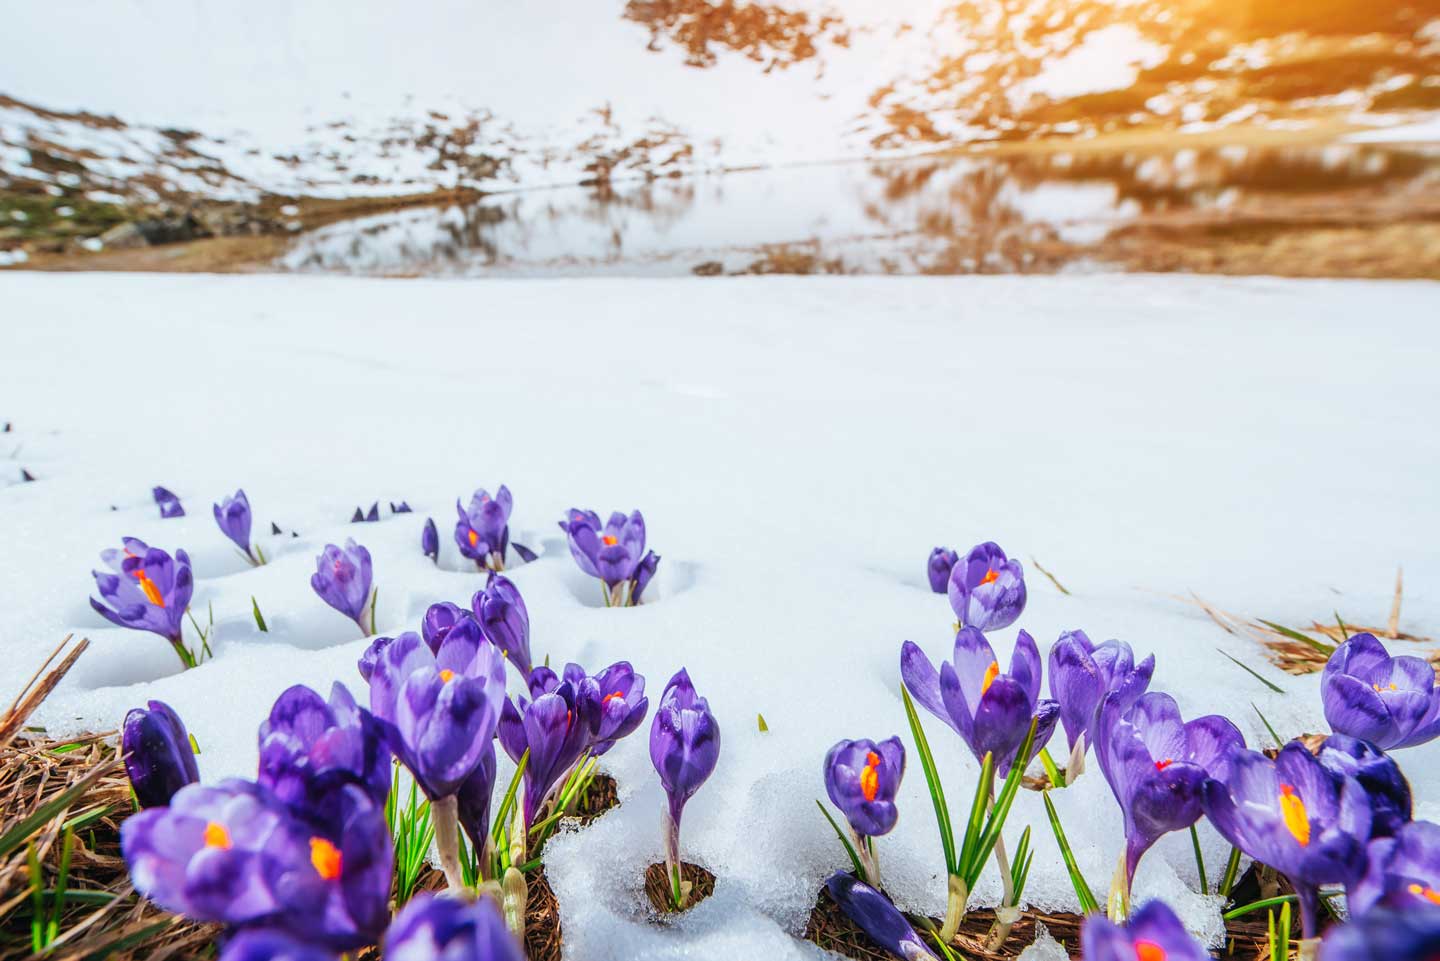
Spring snowshoeing is simply snowshoeing that takes place during the late season, typically from March through May, depending on your location and elevation. While the basic activity remains the same, the experience can be quite different from snowshoeing in the heart of winter.
How It Differs From Winter Snowshoeing
In winter, snowshoeing usually means deep powder or a consistently frozen surface, cold temperatures and less daylight. Spring conditions, by contrast, are more variable. You’re likely to encounter:
- Melt-freeze cycles: Firm snow in the morning that softens throughout the day.
- Wet, slushy snow: You’ll find this in lower elevations or on south-facing slopes.
- Unpredictable layering: Surfaces that crust over softer snow or even exposed dirt patches.
The gear, timing and techniques you use in spring need to account for these conditions, especially to maintain traction and stay dry.
What To Expect With Snowshoeing In Spring
These changing surfaces and lighting conditions create a dynamic hiking experience that’s less predictable but often more engaging. Creeks start to run, wildlife activity increases and occasional greenery peeks through. It’s a transitional time, where snow travel meets early signs of spring. You’ll experience more of the following:
- Longer daylight hours give you more flexibility for timing your trips.
- Temperature swings can cause trails to feel very different morning to afternoon. The warmer weather also makes outings more comfortable.
- Trail exposure varies. You might snowshoe through open fields with soft snow one minute and shaded, icy forests the next.
Practical Advantages
Some other advantages include fewer people on the trails, less need for bulky cold-weather gear and a different kind of scenic contrast, one where snowy terrain intersects with thawing wilderness. If you’re looking to avoid crowds, stay active through the shoulder season or just experience familiar trails in a new way, spring snowshoeing offers a more laid-back approach.
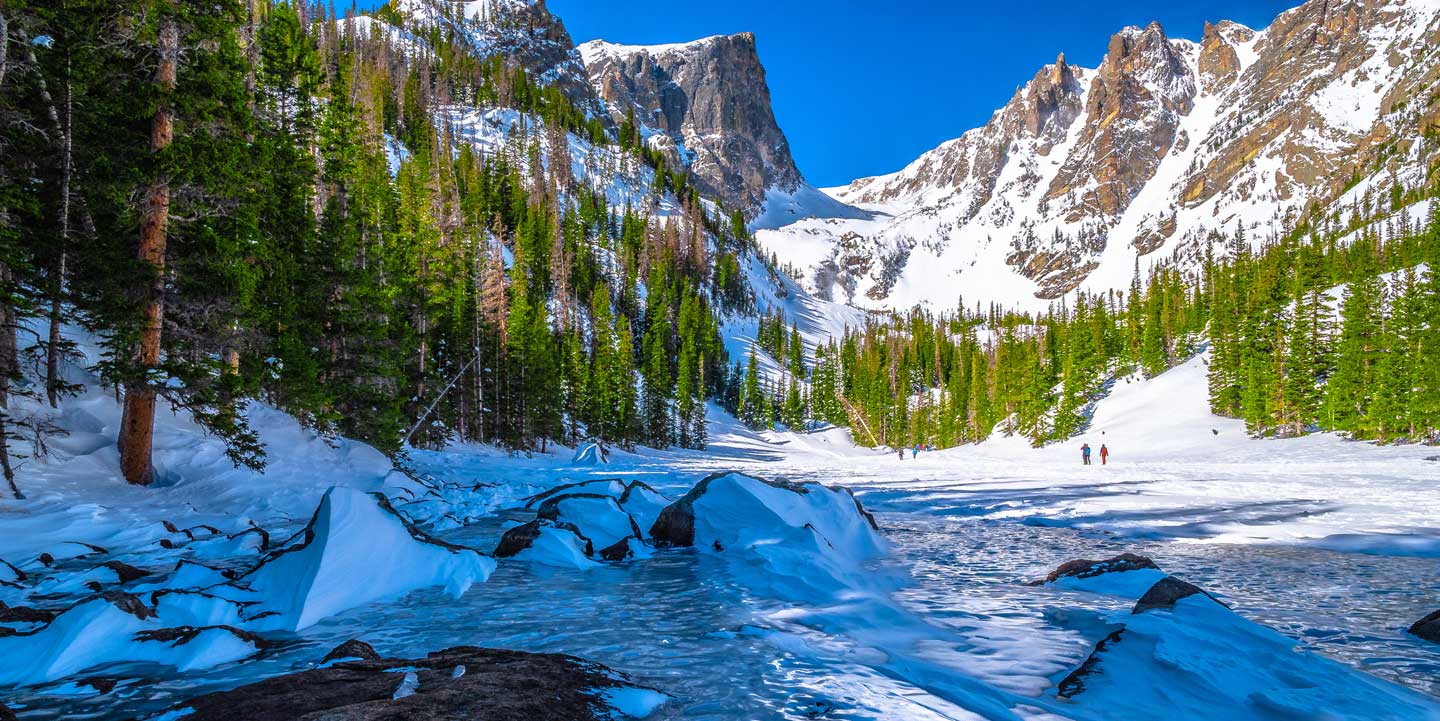
Is Spring Snowshoeing Safe?
Spring brings new opportunities for snow travel. With longer days and more stable weather patterns, it’s a great time to explore deeper into the backcountry and access higher elevations. But it also brings specific avalanche hazards and snowpack challenges that are different from those in midwinter.
Key Resources For Trail Safety & Avalanche Conditions
Before heading out, triple check the avalanche forecast for your specific zone. Local avalanche centers provide up-to-date information on snowpack structure, recent observations and weather trends. Reading the avalanche advisory and tracking recent temperature changes is the best way to stay ahead of potential hazards.
Hub for U.S. regional avalanche centers with a clickable map to find local forecasts.
Trail maps and current reports across North America, managed by REI.
National Weather Service Mountain Point Conditions
Accurate point-specific forecasts for mountainous areas in the U.S.
Understanding Spring Avalanche Risks
Spring snowshoeing can be safe and enjoyable, but it comes with specific risks that differ from those in deep winter. As snow begins to melt and settle, the terrain becomes less predictable. Understanding these changes, and using snowshoes built for such terrain, is key to staying safe on the trail.
In spring, solar radiation becomes one of the main drivers of avalanche activity. South-facing slopes typically warm up first in the morning, increasing the risk of wet loose avalanches. As the day progresses, east and west aspects receive more direct sun, and under certain conditions, even north-facing slopes can become unstable.
Choosing terrain based on aspect can help manage risk, like traveling on shaded slopes during peak warming hours, but this should never be the only factor in your decision-making. Many variables influence spring snowpack stability, including overnight temperatures, wind loading, elevation and buried weak layers. Always evaluate conditions in real time and don’t rely solely on slope direction for safety.
Prolonged periods (multiple days) of above-freezing temperatures, especially when it doesn’t refreeze overnight, can lead to a saturated, weakened snowpack and introduce the force of water into the equation. This state is known as isothermal, when the entire snowpack reaches more than 32°F. In this condition, structural integrity breaks down, making wet loose avalanches and wet slabs more likely.
Another important factor is wind. Wind can rapidly move and deposit snow, creating dense slabs on leeward slopes and loading cornices along ridgelines. These wind-loaded zones can become unstable quickly and are a leading cause of accidents in both winter and spring.
One other thing to keep in mind is the presence of buried persistent weak layers (PWLs). These layers can remain unstable long after they’re covered by newer snow. Common PWLs include depth hoar (large, faceted crystals near the ground), surface hoar and near-surface facets. Avoiding PWLs is challenging because they are buried and invisible, often lingering for weeks or even months beneath the surface. Make sure you’re checking (and re-checking) avalanche reports using the resources above.
How To Plan A Spring Snowshoeing Trip
Planning a spring snowshoe trip involves more than picking a trail and checking the weather. Snow conditions can change by the hour, some trails become inaccessible, and melt-related hazards like tree wells or collapsing snow bridges are more common. Smart planning means adapting to dynamic conditions, packing appropriately and knowing when to adjust your goals.
Below is a guide to help you prepare with safety, comfort and flexibility in mind.
1) Assess Snow & Weather Conditions
Spring snow is constantly evolving, which makes real-time updates essential. Trail conditions can shift from firm and supportive in the morning to slushy or unstable by the afternoon. Start by checking the most recent trip reports and avalanche forecasts for the specific area you’re heading to.
- Check trail reports for information on snow depth, surface conditions, post-holing, icy patches or runoff.
- Use avalanche center resources to understand snowpack stability, especially if your route includes steeper terrain.
- Monitor the forecast for key indicators: overnight freezing (a good sign), rapid warming (a red flag), wind events and any upcoming precipitation.
If there hasn’t been a solid freeze overnight, be extra cautious, as soft snow combined with solar radiation can trigger wet slides or snow collapse underfoot.
2) Choose A Suitable Trail
Not all snowshoe trails are safe or accessible in spring. Trailheads may still be snowed in, or conditions may vary with elevation and sun exposure.
If you’re newer to snowshoeing, stick to simpler terrain:
- Start with flat or rolling trails in open forests or near groomed Nordic areas.
- Many cross-country ski areas also offer snowshoe access. These routes are often marked, maintained and relatively safe.
- Avoid steep slopes, drainages and terrain traps like gullies or creek crossings unless you’re experienced and avalanche-aware.
If using a shared-use trail, be courteous:
- Don’t walk within ski tracks, as it may ruin them for others.
- Step off-trail to let faster users pass.
- Follow local signage and respect seasonal closures.
- If posted, keep dogs out of groomed or regularly used trails
3) Gear Up For Spring Conditions
Spring snowshoeing demands more flexibility in gear and clothing than winter outings. You’ll often deal with melting snow, intense sun and wide temperature swings.
Pack the following:
- Layered clothing system:
- Moisture-wicking base layer
- Light insulating midlayer
- Wind or water-resistant shell
- Moisture-wicking base layer
- Waterproof boots and gaiters to keep feet dry
- Wool socks (and an extra pair) for insulation and comfort
- Snowshoes with good traction and durable crampons for hilly terrain
- Poles for balance and control on uneven or soft snow
Also bring:
- Navigation tools (map, compass or GPS)
- First-aid kit and emergency blanket
- Headlamp and extra batteries
- High-SPF sunscreen and sunglasses
- Ample water and high-energy snacks
- Lightweight traction (e.g., microspikes) if snow turns to ice
Go to the full spring snowshoeing gear checklist
Pro tip: The spring sun is strong, and its reflection off the snow can cause quick sunburn or snow blindness. Apply sunscreen early and wear polarized sunglasses.
4) Plan Your Route & Share Your Plan
Even if it’s a short day trip, make sure you have a defined route and a plan for if conditions change.
- Choose a route with exit options or bailout points, especially if temperatures climb fast or snow becomes unstable.
- Avoid committing to routes with no turnaround options.
- Leave a trip plan with a friend or family member that includes your trailhead, route, expected return time and emergency contact info.
- If traveling solo, stick to low-risk terrain and consider carrying a satellite communicator or emergency beacon.
Spring hazard watch! Be especially aware of:
- Tree wells (soft snow around tree bases)
- Collapsing snow bridges over streams or creeks
- Glide cracks or cornices in higher terrain
- Deep post-holing in thawed areas
- Steep, avalanche-prone areas
5) Mind The Clock
Spring is all about timing. Firm morning conditions can deteriorate quickly once the sun hits the snow.
- Start early, ideally finishing your trip or exiting steep terrain by early afternoon.
- Track your progress and monitor snow softening. Don’t push through slush just to finish a loop.
- If you notice snow becoming wet and punchy, it’s time to turn back.
6) Enjoy The Experience Safely
Spring snowshoeing offers a unique mix of solitude, scenery and early signs of seasonal change. You may spot wildlife, hear running water under the snow or catch glimpses of bare earth on sunny slopes.
- Practice basic snowshoeing techniques like side-stepping, using poles for balance and pacing yourself on ascents and descents.
- Take breaks in shaded areas and watch for signs of fatigue or dehydration.
- Enjoy the views, but stay aware of surroundings. Melting snow can mask hazards that weren’t present earlier in the season.
Remember: Respect the environment by practicing Leave No Trace principles. Respect wildlife, pack out all trash and stay on snow-covered sections when possible to reduce erosion and trail damage.
Spring-Specific Techniques & Tips
Spring snowshoeing demands a flexible mindset and solid trail awareness. Conditions shift rapidly, and your approach needs to evolve with the snowpack, temperature and terrain. The following tips will help you move more efficiently, avoid common hazards and get more out of your spring outings.
Start Early, Finish Early
One of the most important strategies in spring snow travel is managing time. Mornings are typically the safest and most efficient window, thanks to overnight freezing that firms up the snowpack. You’ll find better traction, less fatigue and a lower risk of post-holing or triggering a wet slide.
As temperatures rise throughout the day, snow begins to soften. This can lead to unstable conditions, especially on sun-exposed slopes. Plan your route so that you’re off open or steep terrain by early afternoon. If your trip runs longer, shift to shaded or north-facing slopes where snow tends to hold its structure better.
Reading The Snow: Corn vs. Slush
Understanding what’s underfoot makes a big difference. Corn snow – formed after repeated melt-freeze cycles that create large, granular crystals resembling corn kernels – is generally ideal. It offers solid grip, drains well and tends to be predictable by mid-morning.
Slush, on the other hand, develops when the snowpack becomes saturated and loses structure. It’s harder to move through, more tiring and less stable. You’re also more likely to encounter collapsing snow bridges or sink unexpectedly. Avoid areas where meltwater collects, and steer clear of south-facing slopes in the late afternoon when conditions are at their weakest.
Adapting Your Technique To Snow Conditions
Spring travel often requires you to shift your snowshoeing technique based on surface conditions. Icy in the morning, slushy by afternoon. Your success (and safety) depends on recognizing what’s underfoot and adjusting accordingly.
 Soft Snow
In soft, unconsolidated snow, often found after recent storms or during midday warmth, you’ll sink more easily unless you adjust your foot placement. Kick your toes forward slightly into the snow to create a compacted platform before fully stepping. Shorten your stride and keep your weight centered over each snowshoe to avoid post-holing. Moving slowly and deliberately will help you stay on top of the surface and conserve energy.
Slushy Snow
Slushy snow is heavy, wet and unpredictable, especially in the afternoon or near creeks, drainages or open meadows. It can sap energy quickly and increase the risk of slipping or collapsing into hidden holes. In these conditions, take smaller, flatter steps to distribute your weight more evenly across the snowshoe. Avoid sharp foot placements or heavy stomping, which can punch through the surface. Stay alert for sudden softness and test each step before committing your full weight.
Using lightweight snowshoes with sharp, aggressive crampons can make a significant difference in slushy terrain. They offer better grip on wet, uneven surfaces and reduce fatigue by preventing unnecessary drag and buildup. If slush is widespread and deep, don’t hesitate to turn around or reroute to shaded or firmer terrain. Forward progress in those conditions can become both inefficient and risky.
Hard Pack
On hard, refrozen surfaces (common in the early morning) traction becomes more important than flotation. Plant your foot firmly and flat to engage the snowshoe’s crampons. Avoid rocking forward or backward on the frame, which can reduce grip. Focus on deliberate, controlled steps and use poles to help with stability, especially on steeper slopes.
Side-Hilling (Traversing Across A Slope)
When crossing slopes at an angle, tilt the uphill edge of your snowshoe into the slope to carve out a shallow shelf. This gives you a more stable platform and reduces the chance of sliding sideways. Keep your weight slightly uphill and your poles adjusted for height (shorter uphill, longer downhill) to help maintain balance. Move slowly and use firm steps to secure each placement.
Downhill Travel
Descending in spring snow requires a cautious, balanced approach. Bend your knees slightly, stay upright and take small, measured steps. Keep your feet flat and avoid leaning too far back, which can cause slipping. If you do slide, let it happen in a controlled way. Trying to resist it often throws off your balance more than going with it. Poles should be held in front of you for added stability.
Uphill Travel
Going uphill in spring conditions demands both traction and smart pacing. Step firmly and drive the toes of your snowshoes into the slope to gain grip. Keep your torso slightly forward and use poles to help push upward without overreaching. If you’re breaking trail in soft snow, switch out the lead frequently in a group to avoid burnout.
When To Stop Snowshoeing For The Season

Knowing when to hang up your snowshoes for the year is as important as knowing when to start. Pushing too far into late spring or early summer can lead to frustrating conditions, unnecessary trail damage and even safety issues. Spring doesn’t end at the same time everywhere, so recognizing the right moment to shift activities depends on your local snowpack, terrain and environmental cues.
Signs The Season Is Ending
The clearest sign that snowshoeing season is winding down is a deteriorating snowpack. If you’re regularly encountering long stretches of bare ground, melting snow bridges or collapsing trails, it’s time to reassess your plan. Even if higher elevations still hold snow, access might become impractical, requiring long carries over mud or exposed trails before you reach usable terrain.
Another signal is trail degradation. As snow thins and the ground underneath softens, foot traffic can easily damage trails, vegetation and root systems. Snowshoeing in these conditions creates ruts and erosion that may take months to recover. When the snowpack no longer supports consistent travel, it’s more responsible to switch modes than to continue trudging through marginal terrain.
You should also watch for increased wildlife activity, particularly in areas with bear populations. As snow melts, animals emerge from hibernation, and continuing to travel through transitional zones can disturb feeding or denning behavior. Spring is also a sensitive season for nesting birds and alpine mammals.
Transitioning To Other Activities
On high-intensity snowshoeing hikes, you can burn more than 1,000 calories per hour (and up to 45 percent more calories than walking at the same rate) with this low-impact exercise. But, how do you maintain that output in the off season?
The good news: the end of snowshoe season is the start of something else. As the snowline retreats, many snowshoers naturally transition to spring hiking, ridge walking or alpine trekking. Microspikes or lightweight crampons can help bridge the gap during this shoulder season, especially on north-facing trails or early mornings when snow persists on higher ground.
If you’re not ready to put the poles away, mountain trails with patchy snow can still be rewarding. Just plan for wet feet, bring dry socks and avoid muddy sections that are vulnerable to damage. And if you’re craving elevation, snow-free foothills and river valleys often open up weeks before alpine zones, offering a great way to stay active while giving high terrain time to recover.
Similar activities that help you stay in shape for next season’s snowshoe outings include:
- Early-season hiking in dry or mixed terrain
- Nordic walking or pole trekking for balance and aerobic benefit
- Fast-packing on well-drained routes
- Uphill-focused hiking, stair climbing or weighted hill walks
- Cycling for low-impact high intensity workouts
- High-altitude walks or runs to mimic snowshoeing conditions
Or, Keep Snowshoeing In The Off-Season
Of course, you can continue snowshoeing, even if there isn’t snow on the ground. Many professional snowshoers maintain a training base year-round, but you don’t need to be an elite athlete to borrow some of their habits. With a little creativity and the right surface, it’s entirely possible to keep your movement and conditioning patterns sharp even in the warmer months.
One of the simplest ways to stay snowshoe-ready is to just keep using your snowshoes – but not on snow. Grab an older pair or protect the bottoms of your current set with a layer of duct tape or a flexible rubber coating like Shoe Goo. With moderate use and a little caution, most snowshoes can handle this kind of dry-land training surprisingly well.
Next, head for forgiving terrain. Surfaces like thick grass, pine needles, forest floors or soft sand provide natural resistance similar to snow without damaging your gear. You can even experiment with walking through shallow water, like wet beach sand or a few inches of freshwater, to replicate the snow’s drag.
If your snowshoes allow it, you can remove the crampons or swap in a worn-out pair to reduce wear on the deck and frame. Practice walking on varied terrain, including small hills, dunes and uneven forest floor to help mimic the balance and muscle you’d use in deep powder.
Spring Snowshoeing Gear Checklist

Spring outings bring wet trails, different types of snow and rapidly changing conditions. The right snowshoeing gear can make the difference between a comfortable outing and a cold, frustrating one. Here’s what you’ll need to stay safe, dry and prepared.
Footwear
☐ Waterproof boots (insulated and breathable)
☐ Gaiters (to keep slush and snow out)
Snowshoes
☐ Spring-friendly snowshoes (traction-focused)
☐ Heel lifts for steeper terrain
☐ Lightweight frame (for firmer snow)
Clothing & Layers
☐ Moisture-wicking base layer (top and bottom)
☐ Light midlayer (fleece or soft shell)
☐ Water-resistant or breathable outer shell
☐ Lightweight gloves and hat or buff
☐ Water-resistant socks
Essential Accessories
☐ Trekking poles (with snow baskets)
☐ Sunglasses or goggles
☐ Sunscreen (high SPF, sweat-resistant)
☐ Lip balm with SPF
☐ Insulated water bottle or thermos
☐ High-energy snacks
Optional, But Recommended
☐ Waterproof pack or dry bags
☐ GPS device or navigation app (e.g. Gaia GPS, CalTopo)
☐ Printed map and compass
☐ First aid kit
☐ Emergency bivy or space blanket
☐ Headlamp with extra batteries
☐ Multi-tool or knife
Final Takeaways
Spring snowshoeing offers a refreshing change of pace from the colder months, from longer days to fewer crowds to a dynamic transitional landscape. With the right timing, gear and awareness, it’s one of the most rewarding ways to extend your snow season.
Here’s a quick recap of what matters most:
- Start early to take advantage of firmer snow and safer conditions
- Adapt your technique to changing surfaces like crust, slush or soft spring powder
- Check trail and avalanche reports before heading out
- Dress in layers and use waterproof gear to stay dry and comfortable
- Respect trail conditions and wildlife, and avoid terrain that’s starting to break down
- Know when to call it and transition to hiking or dryland training when the snow fades
Whether you’re continuing your season or just discovering what late-season snow trekking has to offer, spring snowshoeing is a great way to stay active and connected to the landscape. It’s a slower, more reflective time in the outdoors, but one that rewards patience, preparation and a willingness to adapt.
So lace up, keep an eye on the forecast and enjoy the tail end of winter in your own backyard, one step at a time. Have fun!
Take A Step In The Right Direction With Snowfoot
When the snow gets unpredictable, your gear needs to keep up. Snowfoot’s alpine-adapted snowshoes are built for spring conditions. Lightweight, responsive and designed for performance where traditional snowshoes fall short.
With 360° mobility, one-lace bindings and aggressive crampons, Snowfoot is built to handle varied terrain, whether deep powder, ice pack, slushy snow and so much more.
Discover more at the Snowfoot Shop and step into the new season with confidence.